Connect your MYOB integration to sync financial and inventory data between FireMate and MYOB AccountRight.
Product: FireMate Desktop
Table of Contents
- Add a "FireMate" User in MYOB
-
Connect your MYOB accounting package to FireMate
- Confirm the MYOB Integration connected with FireMate
- Enable Purchase Orders in FireMate to display in MYOB
- Set up FireMate Invoicing to work with the MYOB Integration
- Enable Customer reporting between FireMate and MYOB
The available MYOB integration will only work for MYOB AccountRight users. Where using another version of MYOB, please see this article on manual import/exports of
Add a "FireMate" User in MYOB
Prior to setting up the integration, FireMate must be added as a user in MYOB.
You must have administrator access in MYOB to complete this step. must have MYOB Online. It will not work for a locally stored MYOB file.
- Log into MYOB AccountRight
- Select [Setup] and [User Access]
-
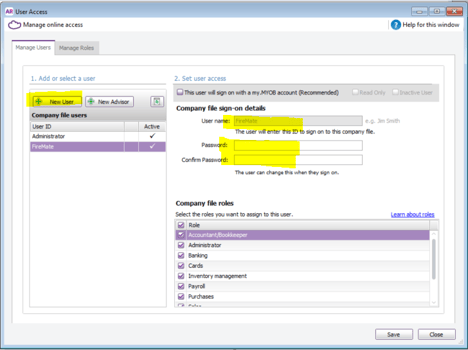
Create a New User called "FireMate" and choose a password
-
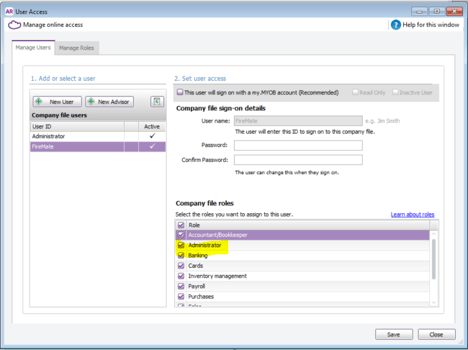
Within the "Company file roles", select [Administrator] for the FireMate user.
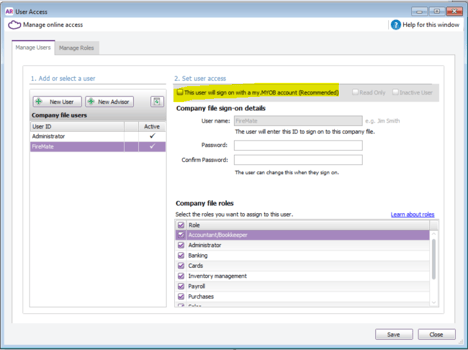
- De-select “This user will sign on with a my.MYOB account (Recommended)" checkbox
-
Select [Save]
Should you experience any difficulty with adding a user to MYOB AccountRight, please contact MYOB directly by visiting this link .
Connect your MYOB accounting package to FireMate
Locate the MYOB for FireMate Integration
- From the FireMate navigation bar, select [Admin]
- Select [System Configuration]
- From the System Configuration dialogue box, select the [FireMate APIs] tab

Log in to the MYOB for FireMate Integration
-
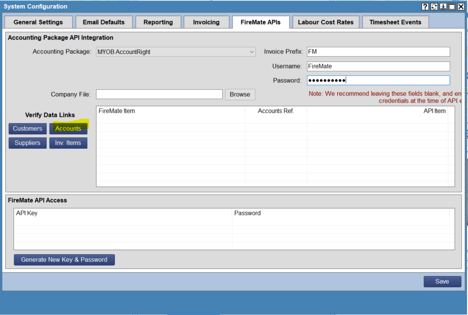
From the "Accounting Package" dropdown, select [MYOB AccountRight]
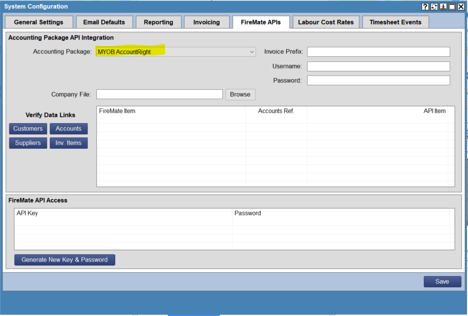
-
Add the Username and Password created in MYOB AccountRight (
during this step
)
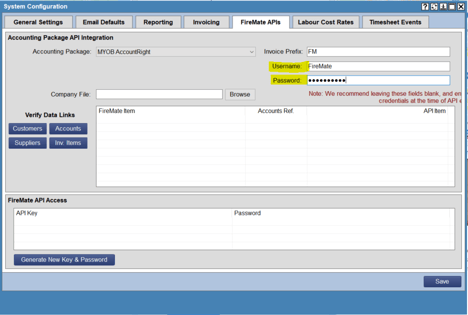
- Select [Save]
Specify the MYOB Company File for the FireMate Integration
- In the "Company File" section, select [Browse]
- Select the correct Company File you would like FireMate to integrate with.
-
Select [Save]
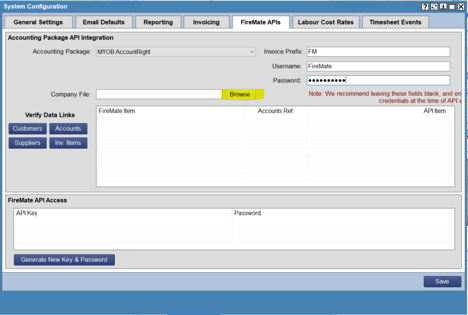
Set an invoice prefix to all FireMate invoices sent to MYOB
-
Type [FM] into the "Invoice Prefix" field.
- An invoice prefix allows you to quickly identify invoices created by FireMate within MYOB. We recommend using " FM " as the prefix.
- Select [Save]
- Where you opt to add an invoice prefix to FireMate invoices, be sure to follow these steps to set up the invoice prefix for all manually exported invoices
We strongly recommend completing the steps for the manual export invoice prefix to ensure consistency in your FireMate database when invoices are exported using different methods.
Confirm the connection between MYOB and FireMate
You can easily verify your Customers, Suppliers and Inventory Items to ensure all items are available in both systems.
Inventory Items must first be manually imported into FireMate before verifying Inventory data.
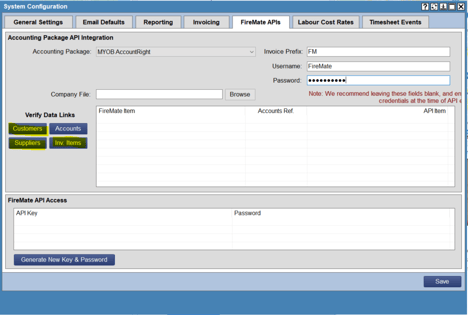
Enable Purchase Orders in FireMate to display in MYOB
-
Select [Accounts] to import Account Codes from MYOB into FireMate
Set up FireMate Invoicing to work with the MYOB Integration
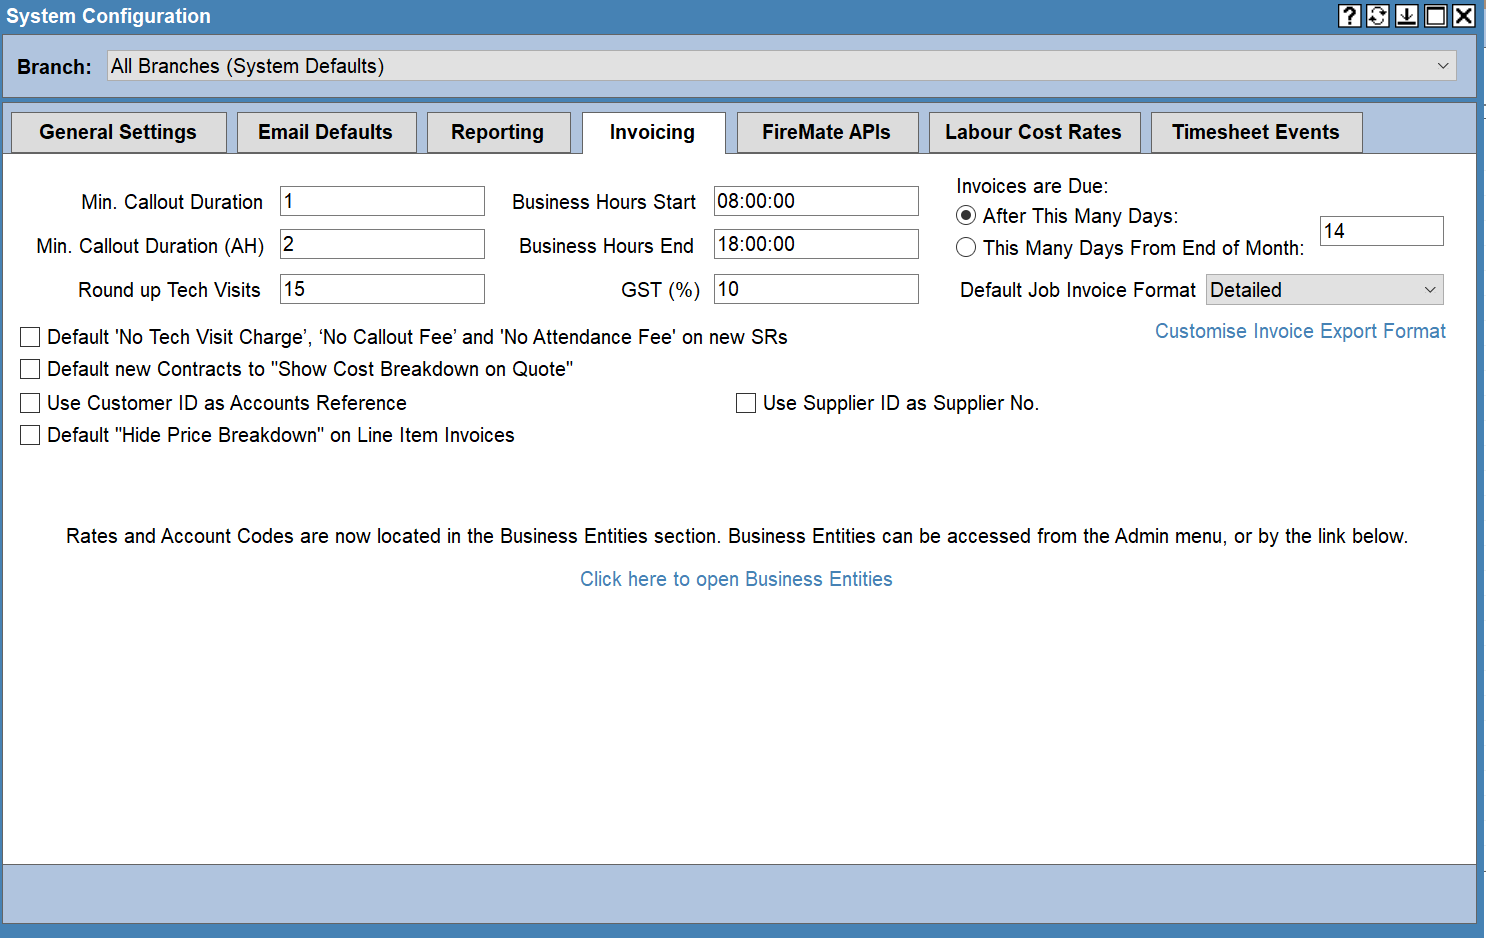
- Within the same FireMate dialogue box, select the [Invoicing] tab
- Select [Click here to open Business Entities]
- Double-click to open the correct Business Entity you would like to allocate account codes to
- Complete the steps in the " How to add Account Codes to a Business Entity" article section
Enable Customer reporting between FireMate and MYOB
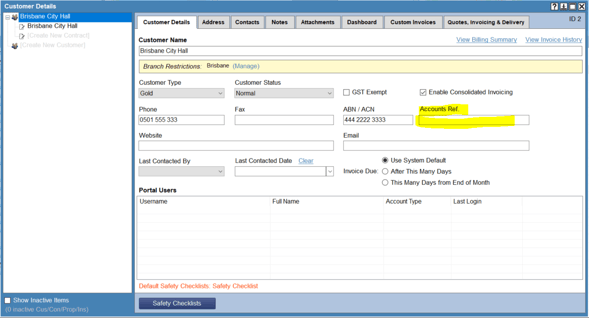
Ensure Customers are connected between FireMate and MYOB by adding their MYOB "Card ID" number to their FireMate "Accounts Ref.".
- Locate the Customer in FireMate and select the [Customer Details] tab
-
Locate the "Card ID" of same the Company within MYOB
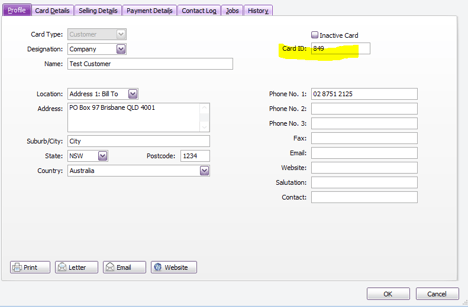
- Enter the MYOB "Card ID" into the FireMate "Accounts Ref" field on the Customer
