Start managing multiple trading businesses within the one FireMate database.
Product: FireMate Desktop
Contents
-
Understanding Business Entities
- When to set up Multiple Business Entities
- How to create a Business Entity
- How to add rates to a Business Entity
- How to add Account Codes to a Business Entity
- How to allocate a Branch to a Business Entity
- Using Business Entities
Understanding Business Entities
FireMate Business Entities allows you to manage multiple trading businesses within the one FireMate database. Each Business Entity can have its own legal trading name, business/licence number, account codes, rates and branding.
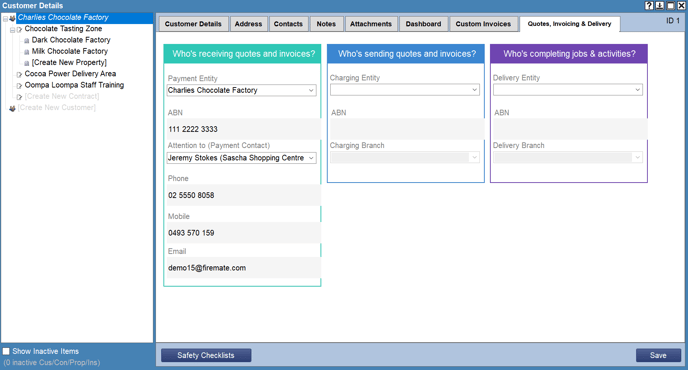
You can opt to use one of your available Business Entities when creating invoices, quotes, and reports for your customers. You can even choose to send your customers quote or invoice from one Business Entity, while allocating the revenue for that quote or invoice to another Business Entity. This ensures accurate reporting between your FireMate database and your accounting package.
When to set up Multiple Business Entities
Every FireMate database requires one Business Entity. This Business Entity represents your trading business. Create multiple Business Entities where you answer 'Yes' to the following points:
-
We would like to quote, invoice and/or communicate with customers from one trading business and allocate the revenue of the work carried out by another of our trading businesses
-
We operate two or more trading businesses which have different business details, rates and account codes.
- We operate two or more businesses which work together to service our customers.
How to create a Business Entity
- To set up a Business Entity within FireMate:
-
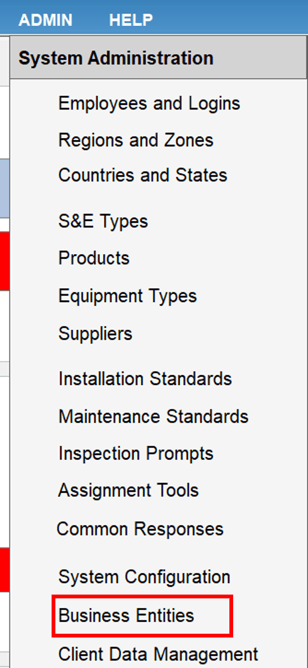
Select [Admin], then [Business Entities]
-
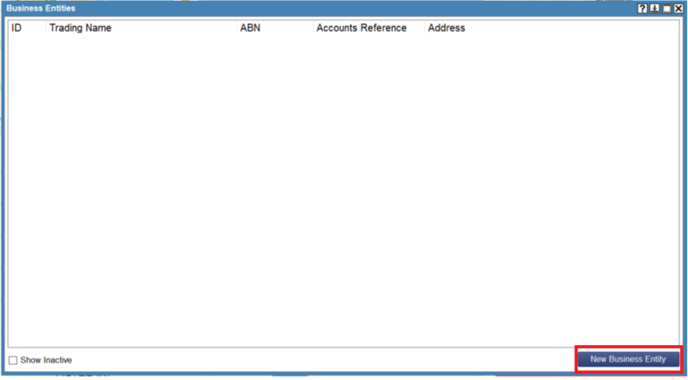
Select [New Business Entity]
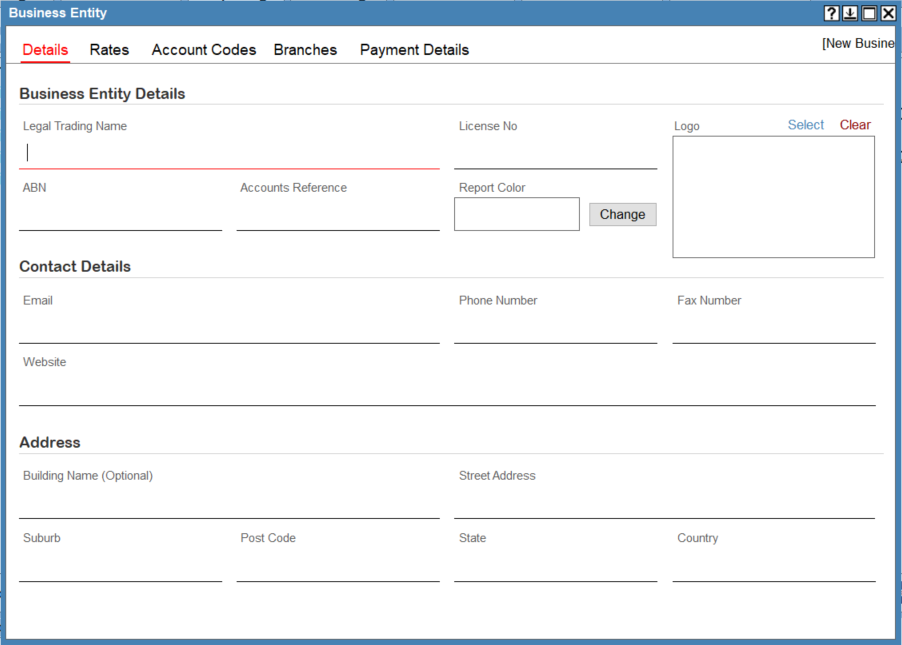
- You will be shown the [Details] tab. Complete the tab with the relevant business information for that entity.
This information will be used to automatically populate business specific details on your quotes, invoices and reports.
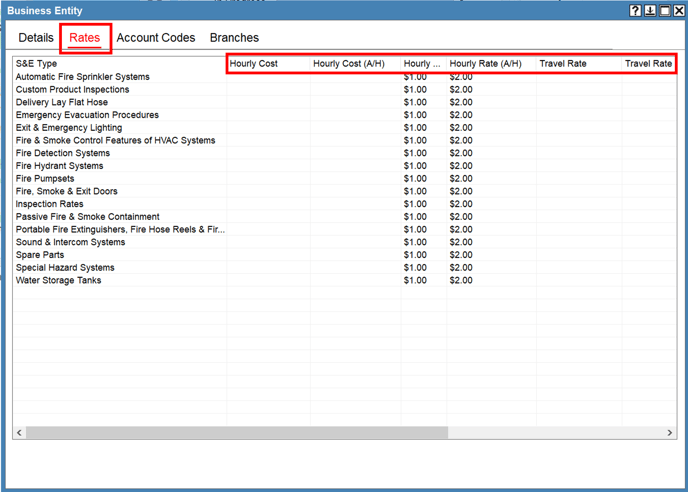
How to add rates to a Business Entity
- Select the [Rates] tab
-
Enter the labour rates and costs associated with this Business Entity.
The labour and cost rates entered will be used by default for pricing quotes, defects and invoices.
How to add Account Codes to a Business Entity
For FireMate to accurately report on revenue to your accounting package, the account codes entered for the Business Entity must match those located in your accounting package.- Select the [Account Codes] tab
-
Enter the account codes relevant to this Business Entity.
The labour and cost rates entered will be used as the default pricing for quotes, defects and invoices.
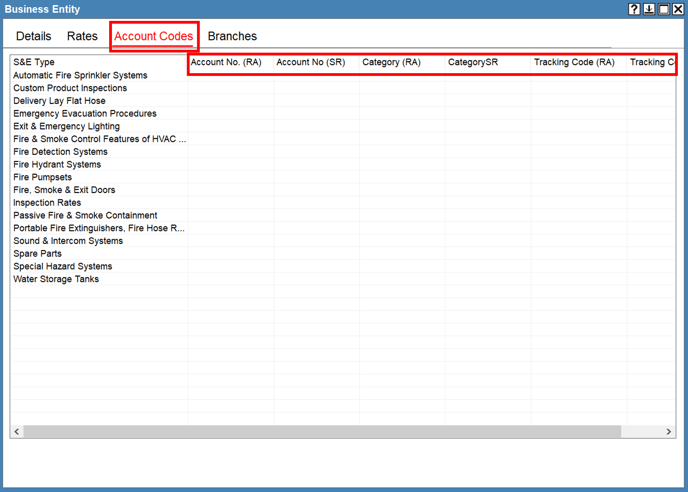
" RA" refers to Routine Activities, which is specific to Contract and Price Per Inspection Level billing.
" SR" refers to Service Requests, which relates to Do & Bill and Job invoicing.
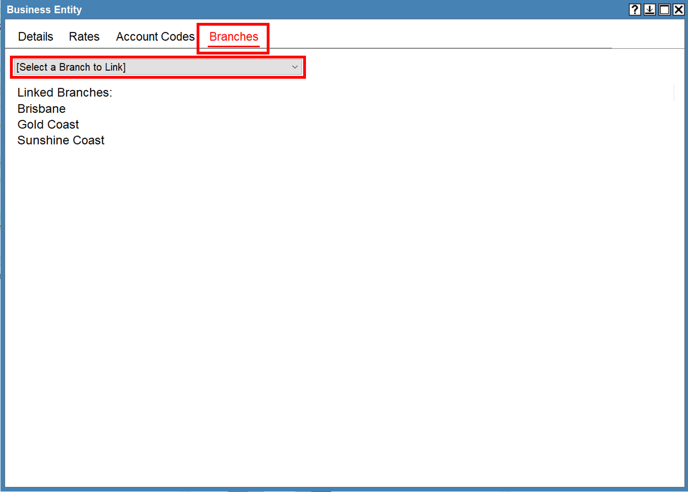
How to allocate a Branch to a Business Entity
Branches is not available for all FireMate customers. Contact support@firemate.com if you wish to learn more about Branches.
A Branch can be allocated to your Business Entity. Where a Branch is allocated to the Business Entity, FireMate by default will use Branch settings over Business Entity settings.
- Select the [Branches] tab
-
Select the [Select a Branch to Link]
-
Select a Branch from the available list
-
Repeat for each Branch that needs to be allocated to the Business Entity.
Where no Branch settings have been entered, FireMate will default to the Business Entity settings by default.
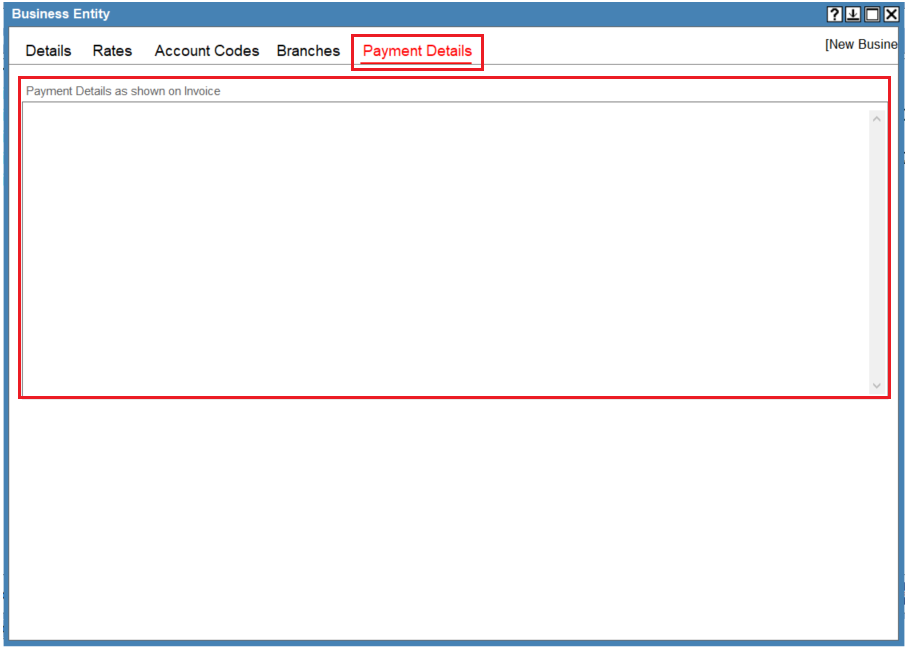
How to add Payment Details to a Business Entity
You can add Payment Details to your Business Entity and this will show on your Invoice so your Customers know where to send their payment to.
Using Business Entities
Begin using your newly created Business Entities by visiting this article !