
The VPN Client software, also known as WireGuard, can be downloaded and installed using the following steps.
Product: FireMate Desktop
If, for any reason, your computer does not allow you to run the "wireguard-software-installer.exe" software, contact your IT Administrator or direct manager to assist.
Contents
Download & install the WireGuard software
Unable to install? You may not have permission to install software on your computer. Reach out to your IT administrator or direct manager within your organisation to assist. Still stuck? Please get in touch with our Customer Experience Team at support@firemate.com or call us on +61 7 3107 1694 (AU) or +44 115 924 9537 (UK).
-
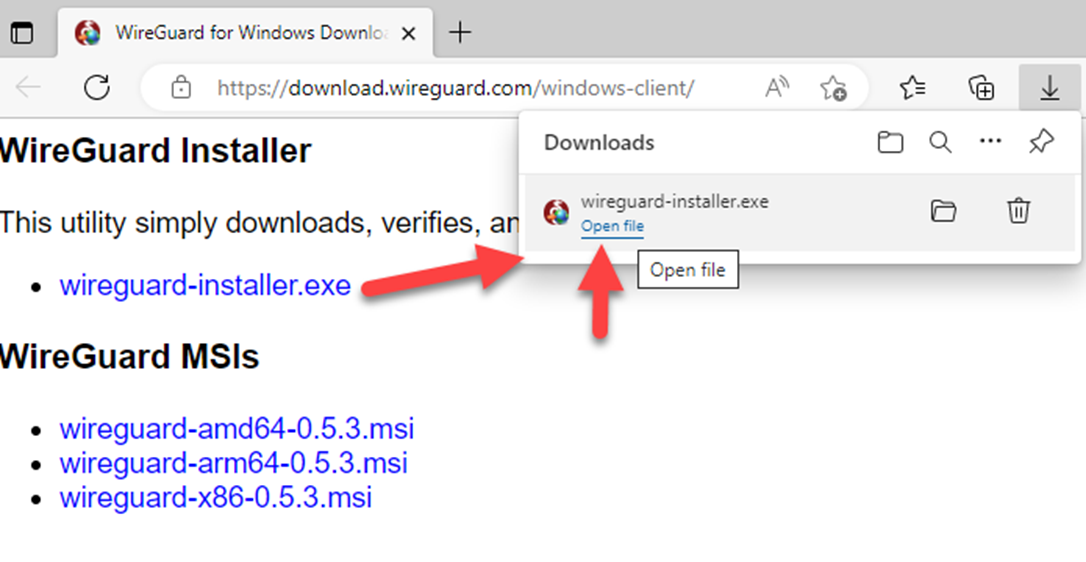
Download the 'wireguard-installer.exe' file from:
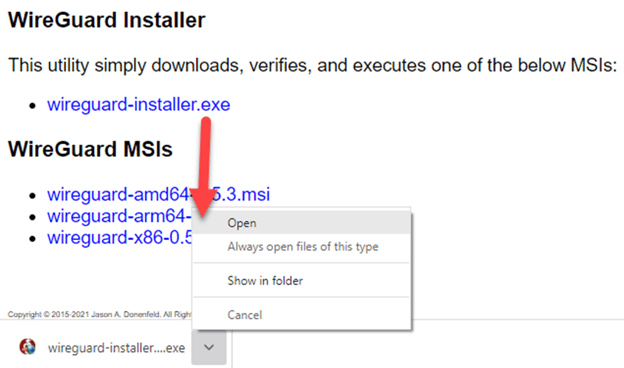
- Locate the download (generally found in your "Downloads" folder)
-
Select the WireGuard file and follow the prompts to install the WireGuard VPN client software on your PC.
-
Google Chrome example
-
Google Chrome example
-
-
Microsoft Edge example
-
Microsoft Edge example
-
When the installation completes, the WireGuard software will appear. Simply select the Close icon to close the window.

-
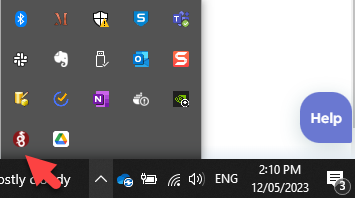
Check to ensure the installation was successful by selecting "Show Hidden Icons" within your Windows Tray and locating the WireGuard icon.
There is no need to select the icon. On successful installation, the icon will appear.
If, for any reason, your PC does not allow you to run/open the "wireguard-installer.exe software", contact y our IT Administrator or direct manager to assist.
Next step: Configure the WireGuard software
- Launch FireMate Desktop from your laptop
- Follow the in product steps to complete configuration