With the Xero integration, you can sync your financial and inventory data between FireMate and Xero.
Product: FireMate Desktop
Contents
- Locate the Xero for FireMate Integration
- Connect your Xero accounting package
- Login to the Xero Integration
- Confirm the Xero Integration connected with FireMate
- Set up FireMate Invoicing to work with the Xero Integration
- Import Inventory from Xero into FireMate
- Enable Purchase Orders in FireMate to display in Xero
- Update Invoice Payment Status from Xero to FireMate
- Validate the connection between Xero and FireMate
Locate the Xero for FireMate Integration
- From the FireMate navigation bar, select [Admin]
- Select [System Configuration]
- From the System Configuration dialogue box, select the [FireMate APIs] tab
Connect your Xero accounting package
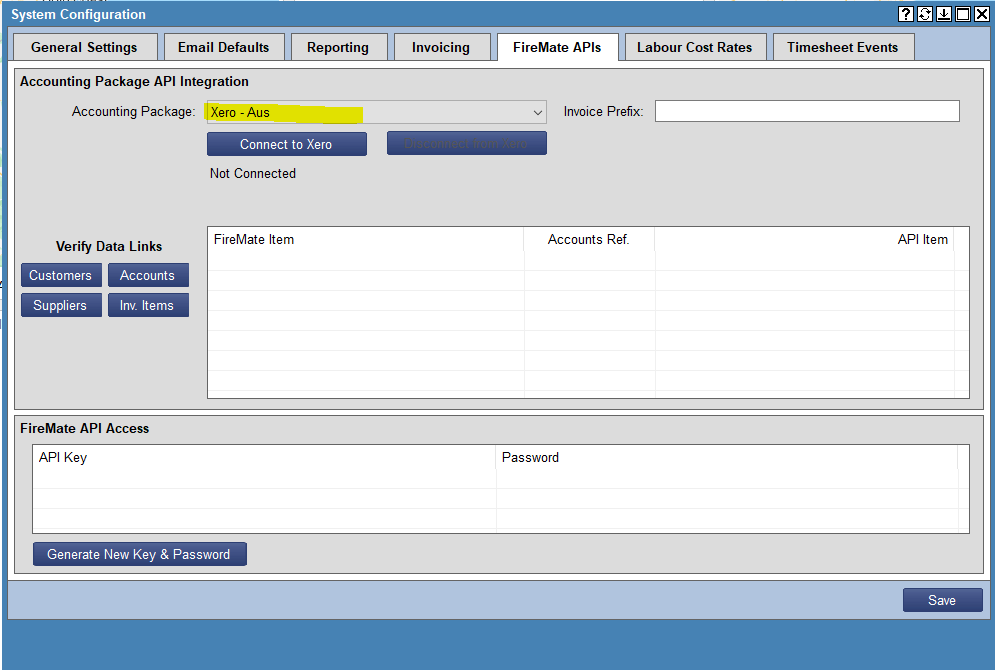
- Select the "Accounting Package" dropdown and select [Xero – Aus] or [Xero - NZ]
- Select [Connect to Xero]
Login to the Xero Integration
You must have Xero Administrator Access in order to perform the following steps.
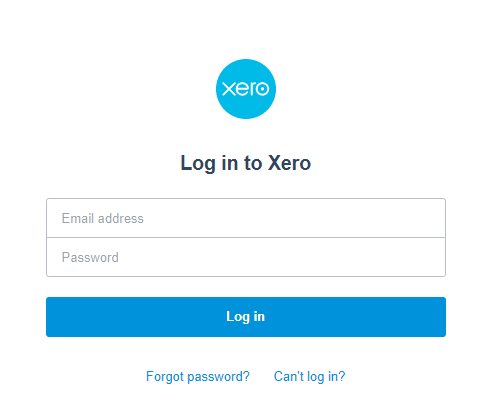
A Xero dialogue box will appear, prompting you to enter your account details which will grant FireMate access to your Xero accounting package.
- Enter your Xero "Email Address" and "Password"
- Select [Log in]
Confirm the Xero Integration connected with FireMate
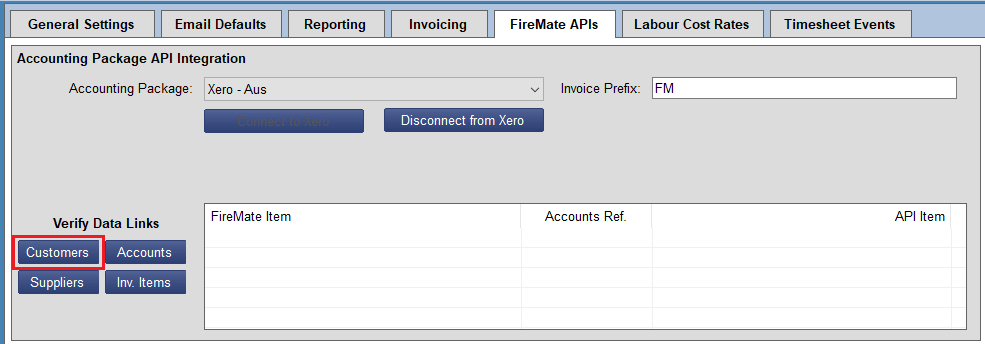
- Once the connection is created, navigate back to the [FireMate APIs] tab.
-
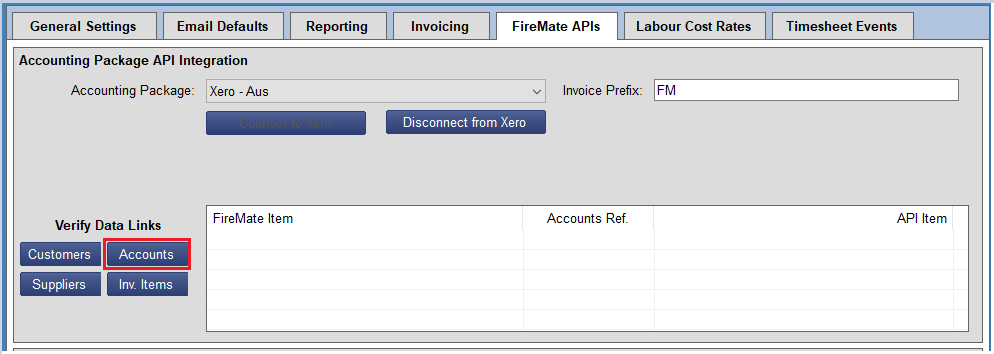
Select the blue [Customer] button. This will check the connection between Xero and FireMate, displaying the Customers you have set up in Xero in the table located to the right of the button.
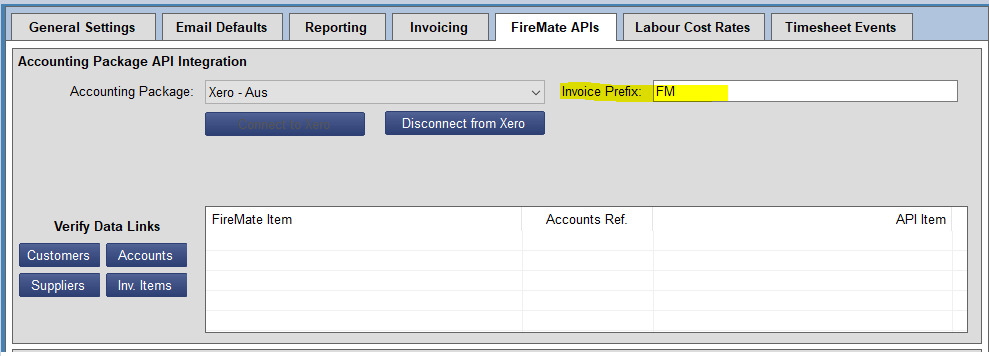
- Type " FM " into the [Invoice Prefix] field. This allows you to identify any invoices created by FireMate within Xero.
- Select [Save]
Set up FireMate Invoicing to work with the Xero Integration
- Within the same FireMate dialogue box, select the [Invoicing] tab
-
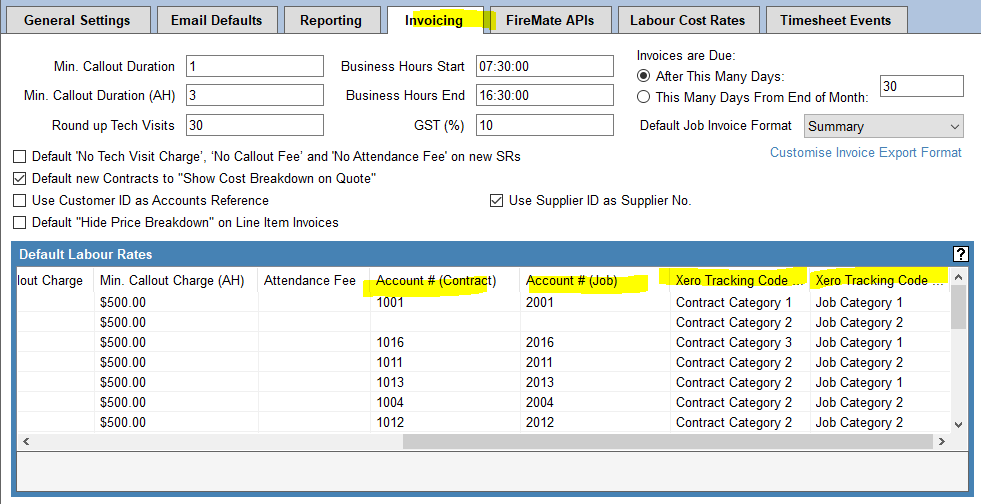
Where applicable, add your Xero revenue account codes and tracking codes in the following columns:
- Account # (Contract)
- Account # (Job)
- Xero Tracking Code A
-
Xero Tracking Code B
-
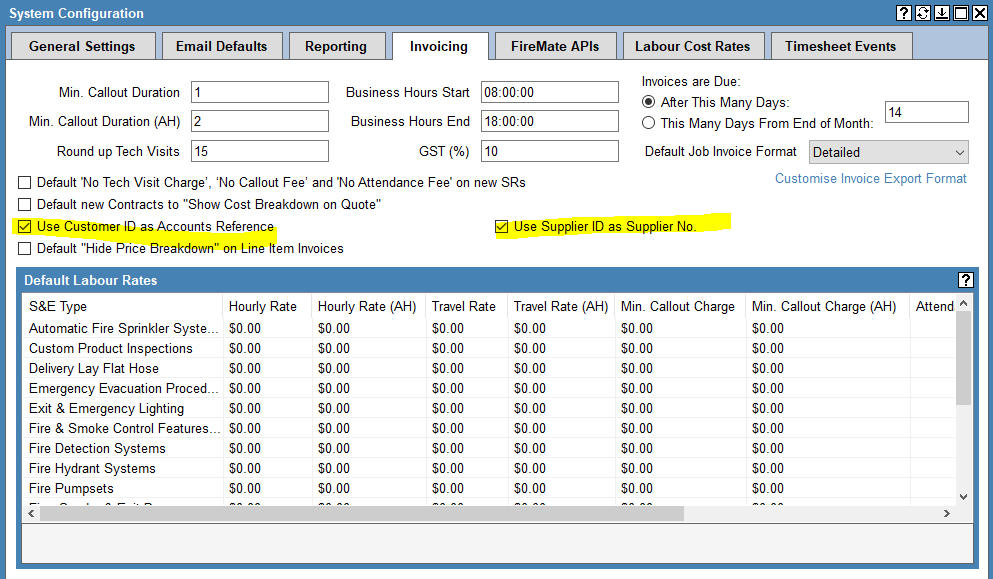
To automatically populate the accounts reference numbers in FireMate, select the below checkboxes:
- Use Customer ID as Accounts Reference
- Use Supplier ID as Supplier No.
- Select [Save]
Where you are an existing FireMate user, our FireMate team will need to populate the account references for you. To do this, please reach out to our team directly by emailing support@firemate.com
Import Inventory from Xero into FireMate
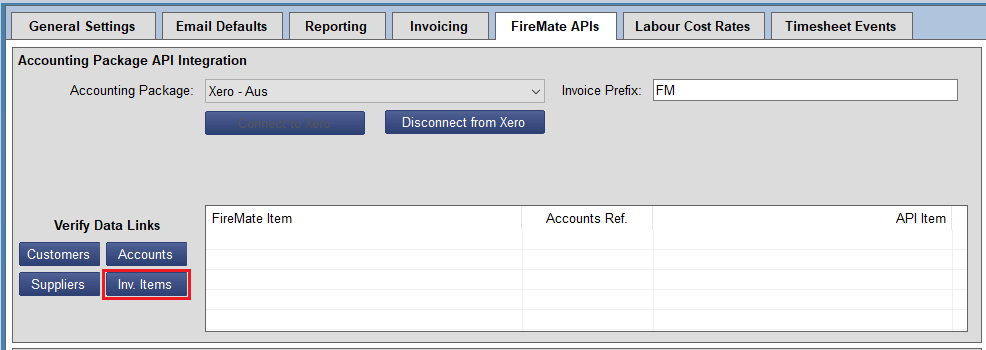
- To import a list of Xero Inventory into FireMate. select the blue [Inv. Items] button.
Enable Purchase Orders in FireMate to display in Xero
To automatically create a Purchase Order in Xero when one is created in FireMate:
- Select the blue [Suppliers] button from the [System Configuration] dialogue box, [FireMate APIs] tab.
- Once a Purchase Order (PO) is generated in FireMate for the Supplier, this will sync automatically with Xero ensuring a copy of the PO in both systems.
Update Invoice Payment Status from Xero to FireMate
Complete the below steps to enable FireMate the ability to check the payment status of invoices within Xero.
- From the FireMate navigation, select [Billing]
- Select [Invoice Manager]
- From the dialogue box, select the [Payment Status] tab
- Type " FM " into the [MUST contain] and [Remove] fields under the "Invoice ID Settings"

Validate the connection between Xero and FireMate
This will ensure the connection between Xero and FireMate has been successful.
- From the FireMate navigation, select the [Search] button
- Select the [Type] dropdown box and select [Customer]
- Select [Search]
- Double-click on any Customer to open their file
- Open this same customer in Xero
- Check the [Account Ref] allocated to that Customer in FireMate, is the same number entered in Xero as the Customers [Account Number].
- This is how the 2 systems will identify that Customer when inserting the invoice information into Xero.
The FireMate Customer [Account Ref] and the Xero Customer [Account Number] must match. This is how the two systems communicate about billing of that customer.