How to credit and re-issue invoices.
Product: FireMate Desktop
Contents
- Start crediting an invoice
- Crediting an invoice
- Send your Customer a copy of a Credit Note
- Re-invoicing
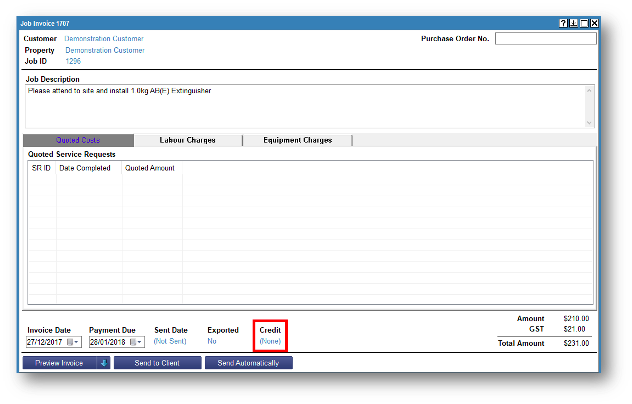
Start crediting an invoice
When crediting an invoice, it must be credited in your Accounting Package first, then credited in FireMate.
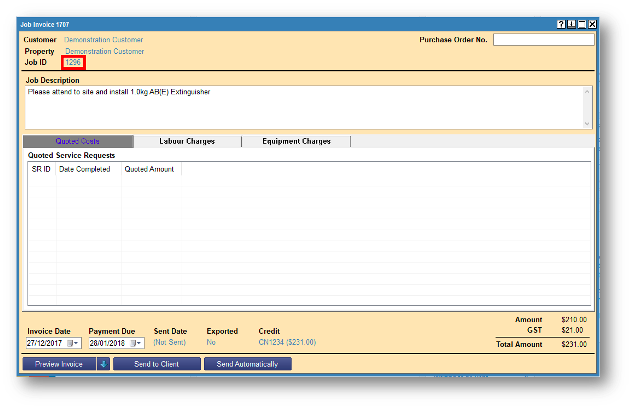
Select the Blue Text [(None)] under Credit at the bottom of the invoice card.
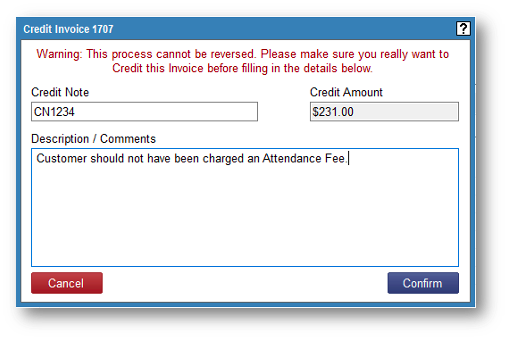
Crediting an invoice
- Enter the Credit Note Number from your Accounting Package (this way the numbers will match in both systems).
- The Credit Amount will automatically populate, FireMate only allows full credits, no partial credits.
-
Enter a Description and then select the [Confirm] button.
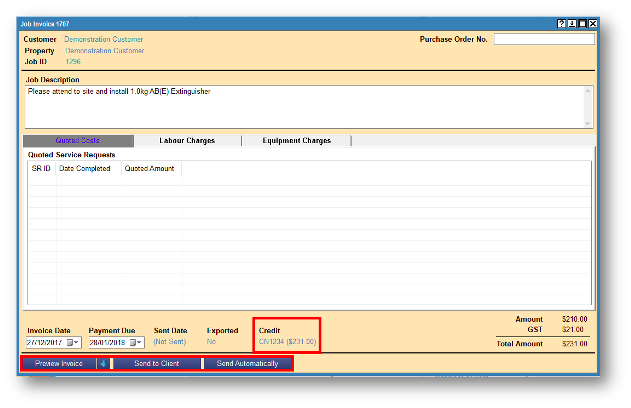
Send your Customer a copy of a Credit Note
Your invoice has now been credited.
The Invoice Preview screen will now show in an orange colour so you know it has been credited.
To send your Customer a copy of a Credit Note:
- Select the [Preview Invoice],
- [Send to Client] or
- [Send Automatically] button.
Re-invoicing
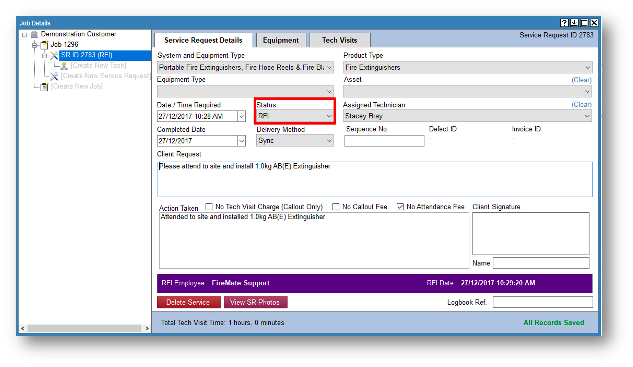
To re-invoice your credited invoice, click on the Job ID.
Set the status back to RFI and make the necessary changes so you can re-invoice with the correct amount.
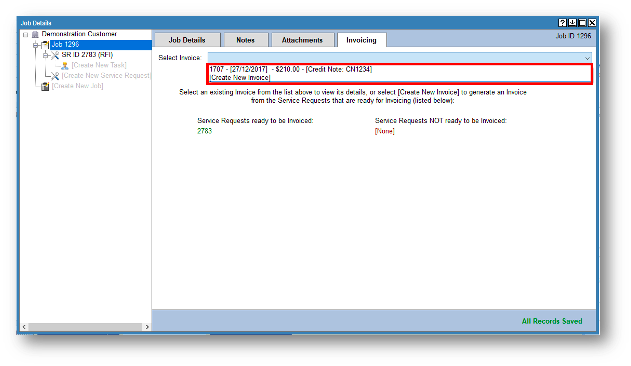
Invoice as normal by selecting [Create New Invoice].
Your Credit Note will always be visible on that Job.
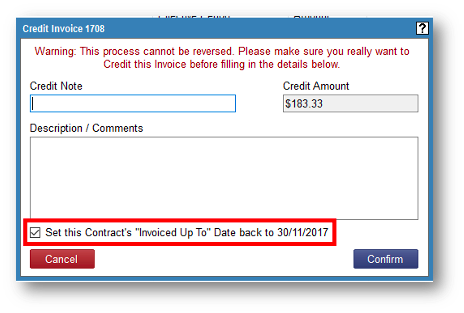
To re-invoice a Contract Invoice for a set period, be sure to leave this box selected.
If you DO NOT want to re-invoice that period, untick this box.